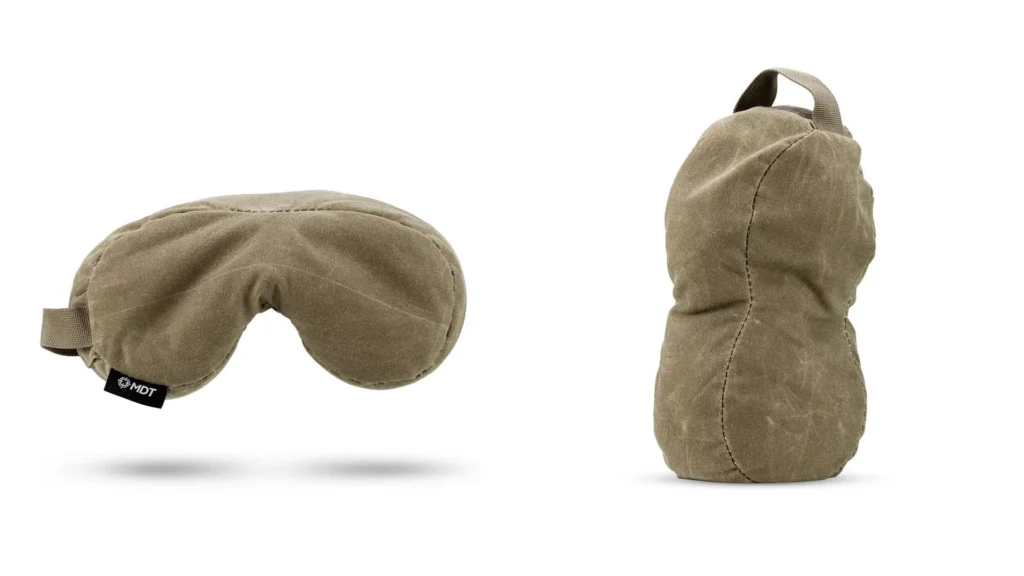
When it comes to long-range shooting, precision isn’t just a luxury, it’s a necessity. From dialing in wind calls to fine-tuning ballistic data, long-range shooters invest heavily in every detail. Yet one of the most overlooked, yet underrated, tools in precision rifle shooting for new shooters is the rear bag. There is a variety of bags to choose from, and most of them are determined by your preference. During our shooting classes, we like to let students use different bags to see how they feel. In most cases, students lean towards MDT’s Peanut Shooting Bag. It happens to be one of our favorites.
If you ARE NOT using a rear bag correctly (or at all), you’re leaving accuracy on the table. We are going to dive deep into why rear bags are critical for precision shooting and offer step-by-step instructions on how to use them effectively, whether you’re prone on the dirt or shooting off a barricade. If you want to tighten your groups, build consistency, and gain control over recoil management, keep reading.
What Is a Rear Bag?
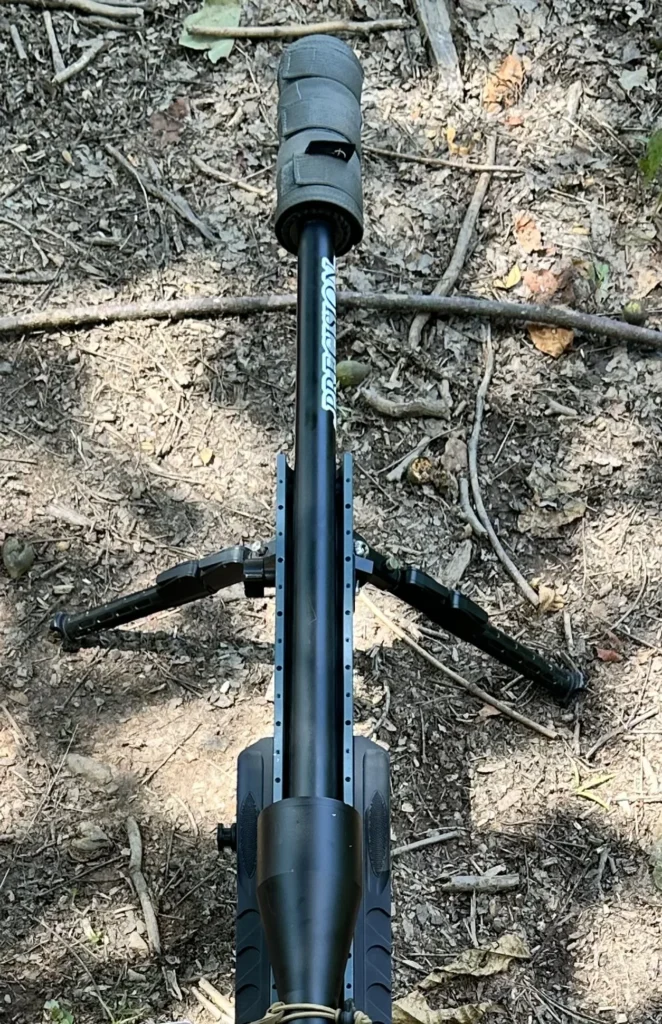
A rear bag, often made of durable nylon and filled with materials like plastic beads or sand, is a small support tool placed under the buttstock of your rifle or under the forearm. Its job is simple: provide a stable point of contact for the rifle, allowing for micro-adjustments and minimizing shooter-induced movement. When paired with a quality bipod or front rest, the rear bag becomes part of a two-point support system, which is crucial for maintaining a stable shooting platform.

Why Rear Bags Matter in Long-Range Shooting
1. Fine Elevation Control
The rear bag acts as a micro-adjustable elevation control. By squeezing or relaxing the bag, you can raise or lower your crosshairs in the smallest of increments, which is especially important when trying to hit a target hundreds or thousands of yards away. It only takes a slight amount of pressure to move the reticle a considerable distance.
2. Stability Equals Accuracy
Stability is everything in precision shooting. A rear bag absorbs shooter movement, helping reduce the transfer of pulse, breathing, and muscle tremors into the rifle. The result? A steady sight picture and a shot that breaks clean.
3. Recoil Management
A solid rear support helps manage recoil in a linear fashion. With proper rear bag usage, the rifle moves straight back into your shoulder, allowing for faster target reacquisition and better shot follow-through.
4. Improved Consistency
Long-range shooting is a game of repeatability. Using a rear bag in the same way each time builds muscle memory and consistent point-of-impact, especially in competitive or hunting environments where first-round hits matter.
How to Use a Rear Bag: Step-by-Step Instructions for Precision Shooting
Let’s break down how to use a rear bag correctly when shooting prone, and then how to adapt that technique to shooting off props or barricades.
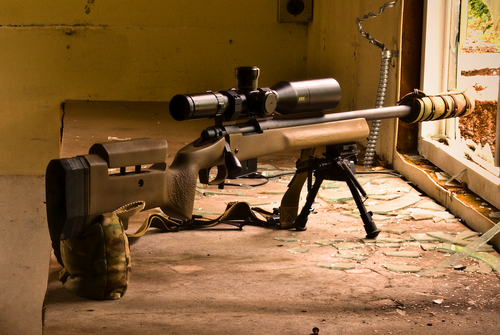
Shooting Prone with a Rear Bag
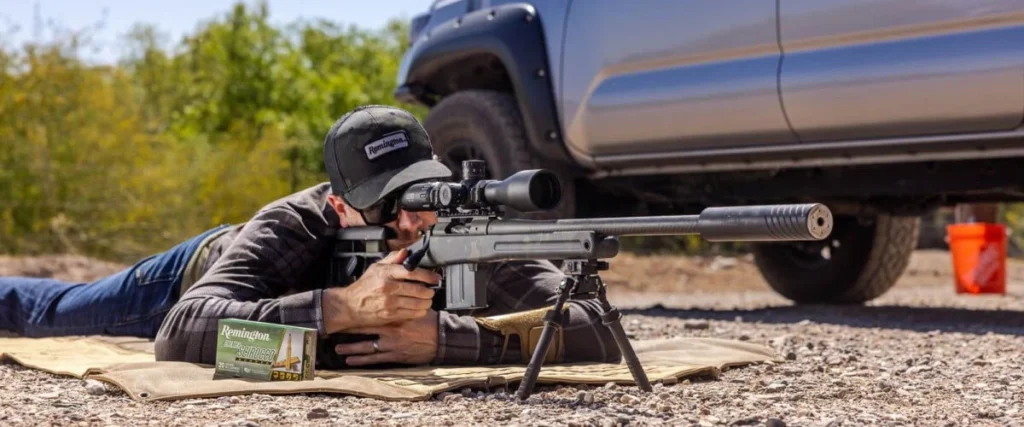
Step 1: Set Your Front Support
Place your rifle’s fore-end on a bipod, tripod, or front rest. Ensure the front support is stable and level. Your bipod legs should be firm against the ground, not bouncing or sinking.
Step 2: Place the Rear Bag Under the Buttstock
Slide the rear bag under the toe of the rifle’s stock. The bag should be positioned where your non-dominant (support) hand can easily reach it. Armageddon Gear also offers some excellent rear bags. This one is the Squishy Rear Bag, sold by Low Vis Gear, and it works well.

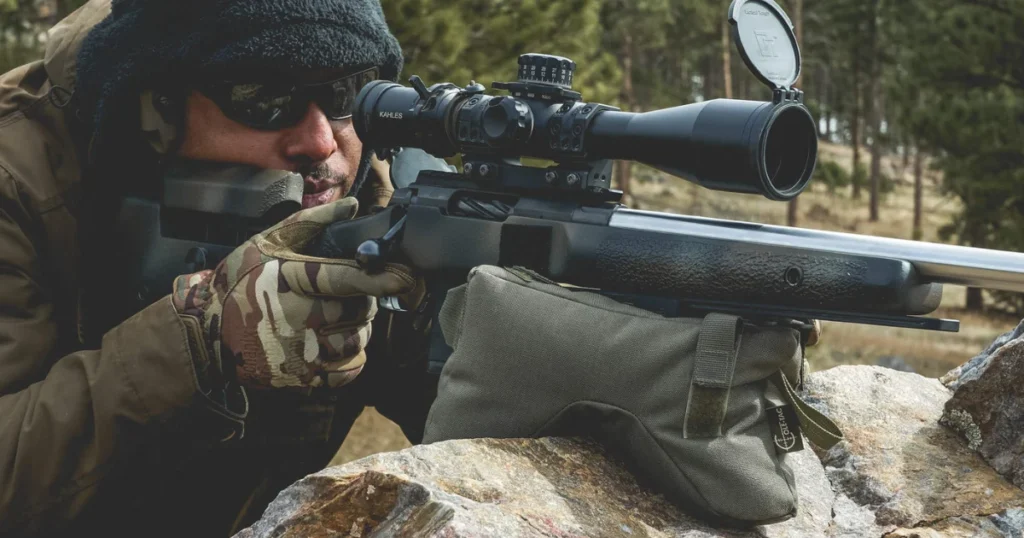
Step 3: Get Behind the Rifle
Lay directly behind your rifle in a straight line, ensuring that your spine is aligned with the barrel. This reduces lateral recoil movement and improves follow-through.
Step 4: Adjust Elevation
Use your support hand to squeeze or relax the rear bag. Squeezing the bag raises the muzzle, while relaxing it lowers the muzzle. Get your reticle perfectly centered on the target without using your muscles. Let the rifle rest naturally in position.
Step 5: Establish Natural Point of Aim
Once you’re on target, test your natural point of aim by closing your eyes, taking a deep breath, and reopening your eyes. If your crosshairs are still on target, you’re good to go. If not, adjust your body or bag placement until it’s right.
Step 6: Load the Rifle Slightly
Apply slight forward pressure into the bipod to “load” it. This keeps the rifle firm against your shoulder and reduces the chance of movement when the shot breaks. But don’t apply too much pressure that the reticle moves when you breathe.
Step 7: Break the Shot
Maintain a relaxed trigger finger and press straight back. Your rear hand should stay in contact with the bag for post-shot stabilization.
Using a Rear Bag on Props or Barricades
In tactical, competitive matches like PRS (Precision Rifle Series), or real-world situations like hunting, you’ll often shoot off unstable or improvised surfaces. A rear bag can make or break your stability on these stages. Cole-tec’s Boss bag is one of those bags that fits in multiple categories and can be used in many different situations.
Step 1: Use the Right Bag Size
Choose a bag that offers enough height and volume to fill gaps behind the rifle. Medium to large bags (like the Game Changer style) are excellent for this.
Step 2: Build Your Position
Rest the rifle’s fore-end on the prop using a front support or a larger shooting bag. Then wedge your rear bag between the rifle buttstock and whatever surface is behind or beneath it — your shoulder, your knee, the edge of the prop, etc.
Step 3: Control Vertical Movement
As in prone, use hand pressure on the bag to raise or lower your crosshairs. The goal is always to achieve a natural point of aim without muscle tension.
Step 4: Anchor Yourself
Use your body — elbows, knees, or chest — to stabilize against the prop. The rear bag provides a cushion and point of control, allowing you to get rock solid even on awkward stages.
Rear Bag Tips for Maximum Effectiveness
- Choose Quality Materials: A good rear bag should hold its shape under pressure and not compress too much. Look for models with durable stitching, water resistance, and non-slip fabric.
- Train With It: Practice every range session with your rear bag. Learn how much pressure is needed to make minor adjustments. The more familiar you are, the more second nature it becomes.
- Try Different Shapes: Rear bags come in various forms — cylinders, wedges, cubes, and even hybrid shapes. Try different styles to see what works best with your rifle and shooting style.
- Use With a Sling: Some shooters loop their sling around the bag and rifle buttstock to keep it from slipping during follow-through. It’s a simple hack that can boost consistency.
Final Thoughts
In long-range shooting, small things make a big difference. A rear bag might look like a minor piece of gear, but in the hands of a trained shooter, it becomes a precision tool. Whether you’re punching steel at 1,000 yards, ringing steel in PRS matches at all distances, or hunting in the backcountry, your rear bag is your secret weapon for accuracy.
So next time you hit the range, don’t forget the rear bag. Master it, and you’ll shoot tighter, spot better, and perform with the consistency that defines great marksmen.