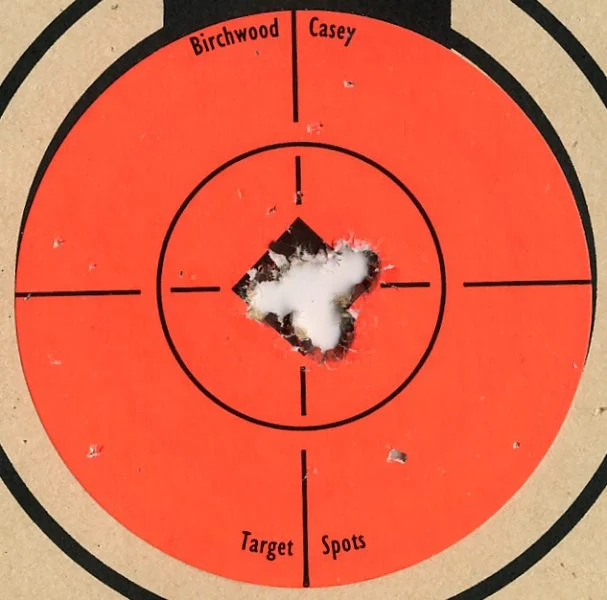
If you want tighter groups, you might think the solution is an expensive barrel, exotic bullets, or mystical load data. Those things help, but the single most consistent, trainable factor that turns average shooters into precise shooters is simple: shrink your target and aim smaller. By narrowing the aiming area and forcing yourself to focus on a smaller, repeatable sight picture, you reduce variability in every element of the shot process. The result is fewer flyers and five-shot groups that make you want to high-five your spotting scope.
Below, I break down why small aiming areas work, how they affect the shooter’s mechanics and mindset, and step-by-step drills to practice. This advice applies to pistols, carbines, and precision rifles. Read it, practice it, and watch your group sizes fall.
Why do smaller aiming areas produce tighter groups?
Shooting is a precision sport built on repeatability. Every time you press the trigger, you are asking your body and rifle to do the same tiny things in the same order. A bigger aiming area allows for more acceptance of variation in where your eyes, head, or trigger finger end up. If you aim at a 6-inch circle at 100 yards, a one-inch error at the eye or in follow-through still fits inside the aiming area. If you aim at a 1-inch dot, that same one inch of error shows up immediately on the target as a flyer.
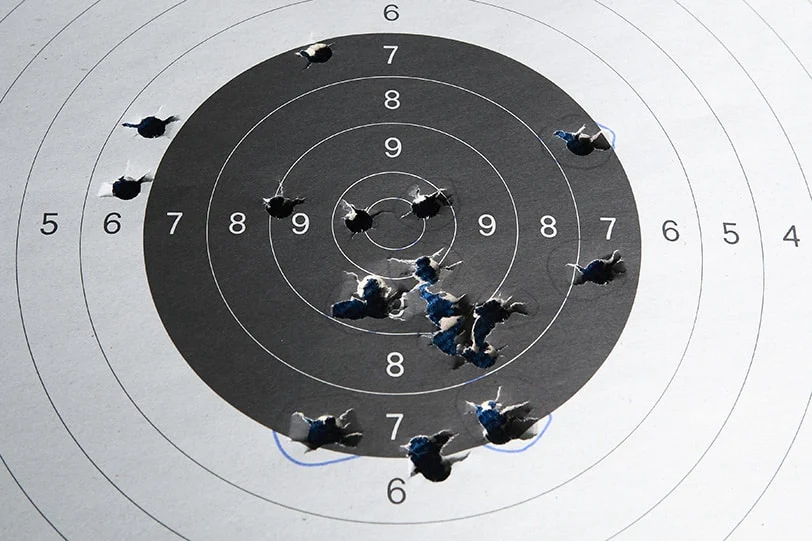
Reducing the aiming area forces better fundamentals. When you aim small, you naturally tighten your cheek weld, seek a repeatable natural point of aim, sharpen your focus on the front sight or reticle, and clean up trigger mechanics. The brain responds too. A smaller aiming point demands more attention and encourages consistent mental routines that reduce flinching and anticipation. In short, the smaller the aim, the less slack you give your system to drift.
The mechanics behind smaller aiming points
Several physical elements improve when you tighten the aiming area:
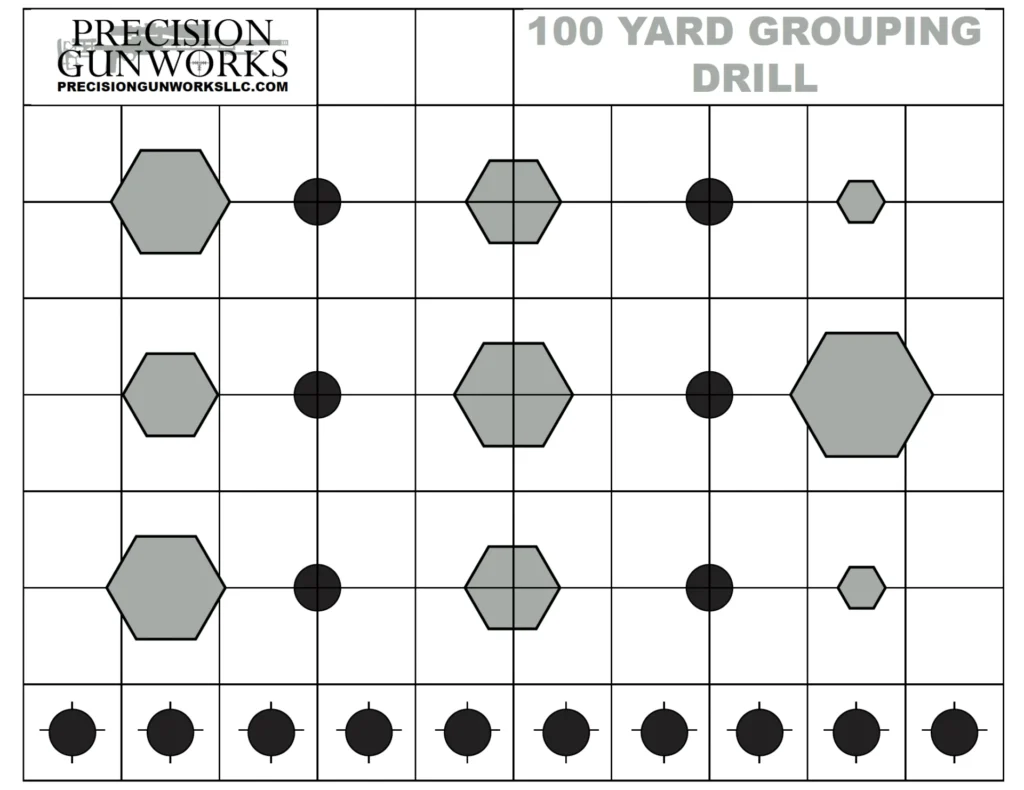
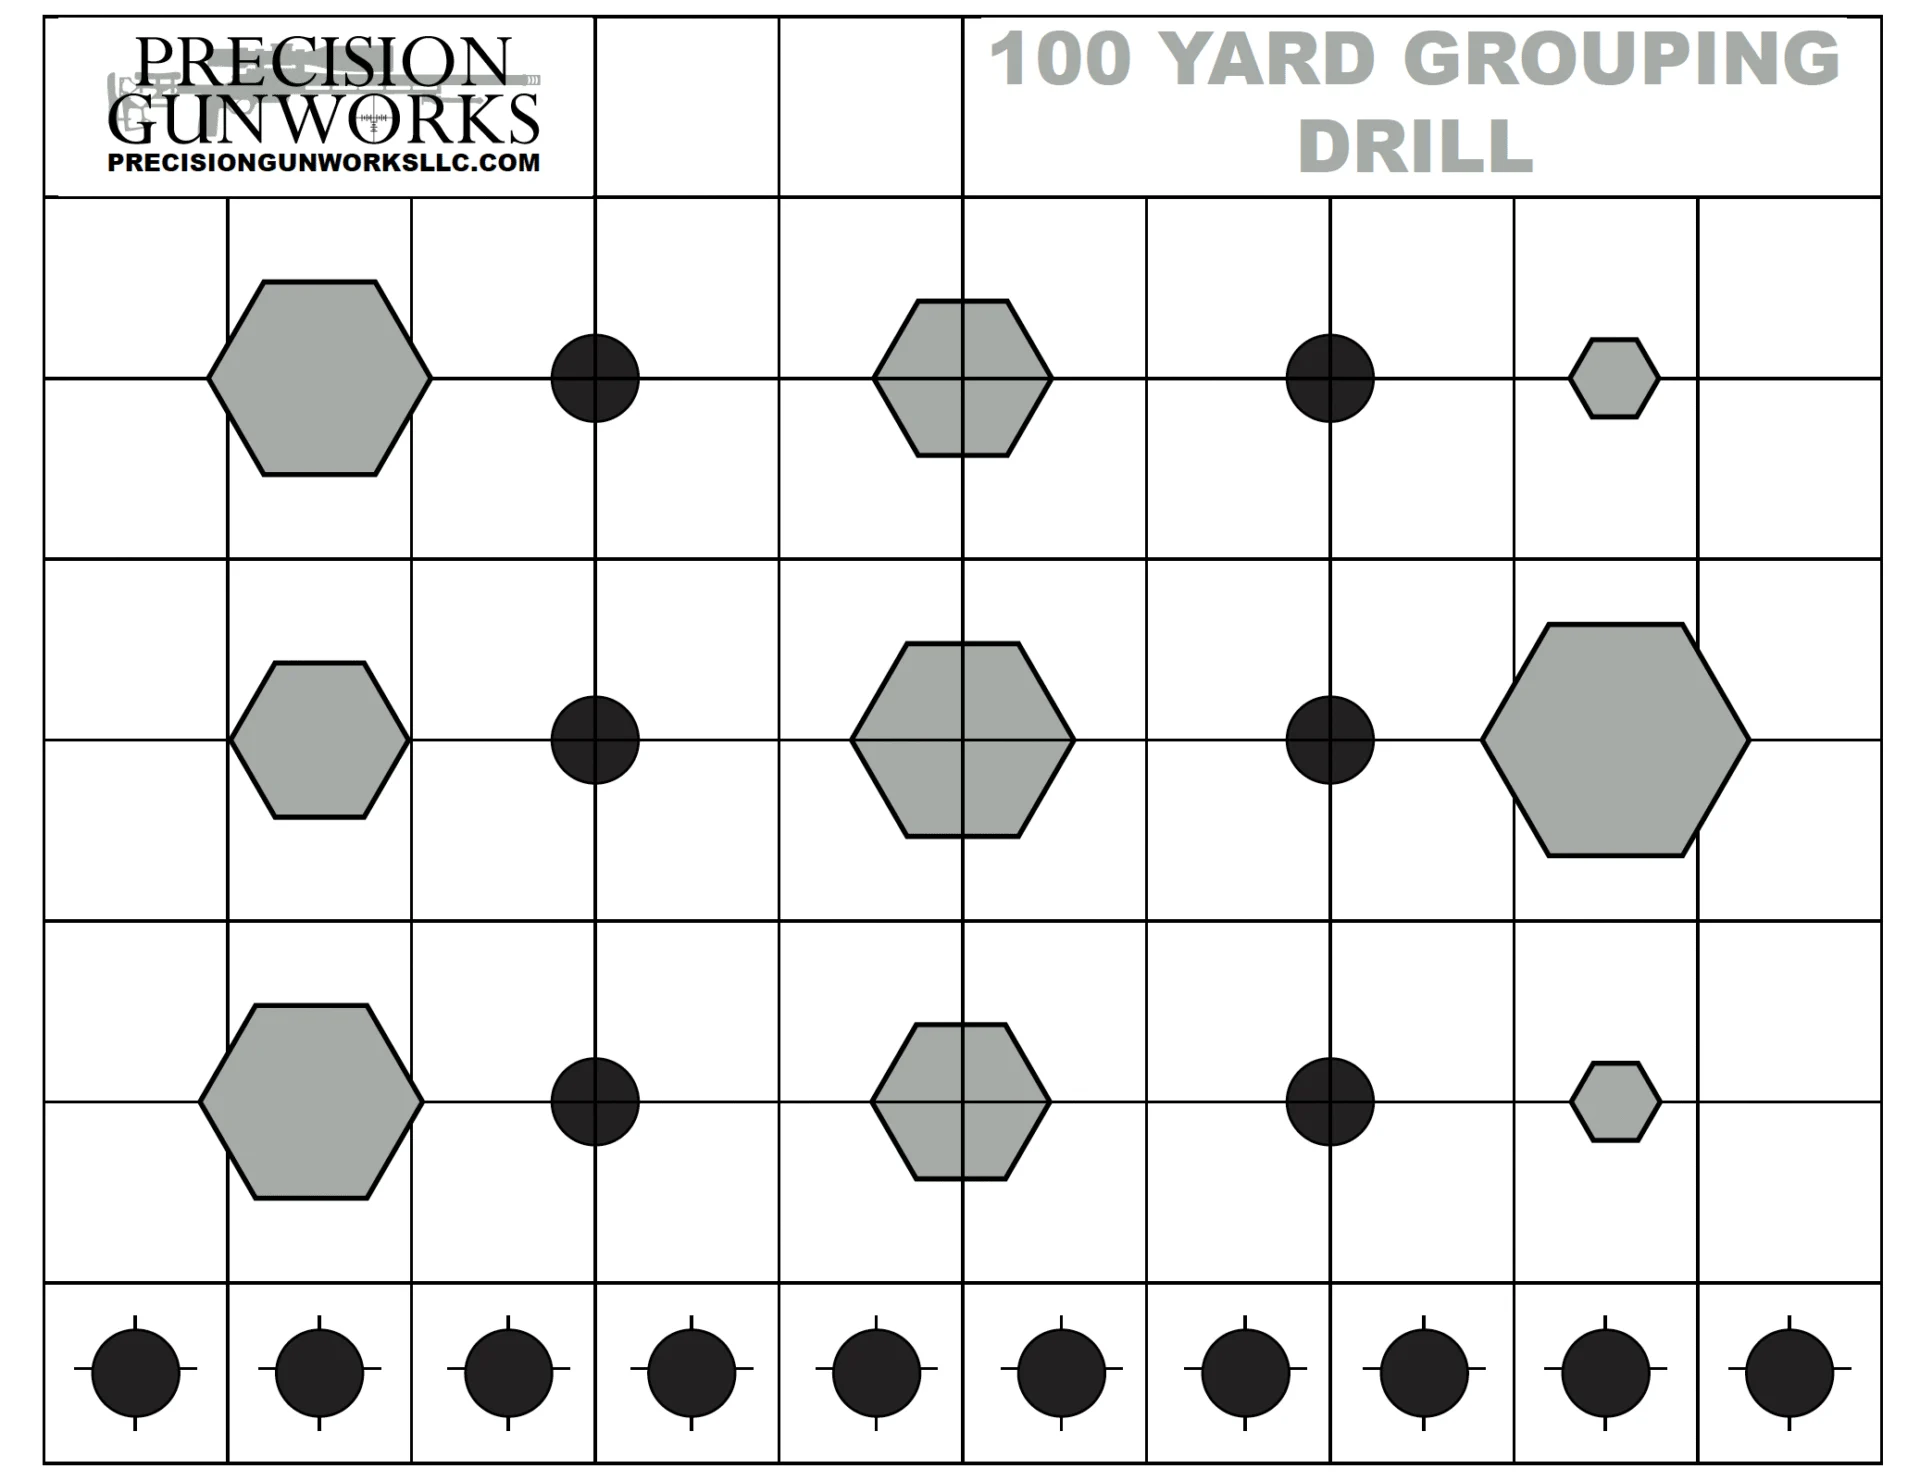
“We developed the targets we use in our classes…. to have over 70 aiming points.”
- Sight picture consistency: A smaller aim point requires you to align your sights the same way every time. That consistent alignment reduces horizontal and vertical dispersion caused by sight misalignment.
- Aiming Point: Often, we aim at the center of the target because that is where our eye falls once we look through the scope. We developed the targets we use in our classes, pictured above, to have over 70 aiming points. Aiming at the points on the hexagon, at the “T’s” on the background, ect.
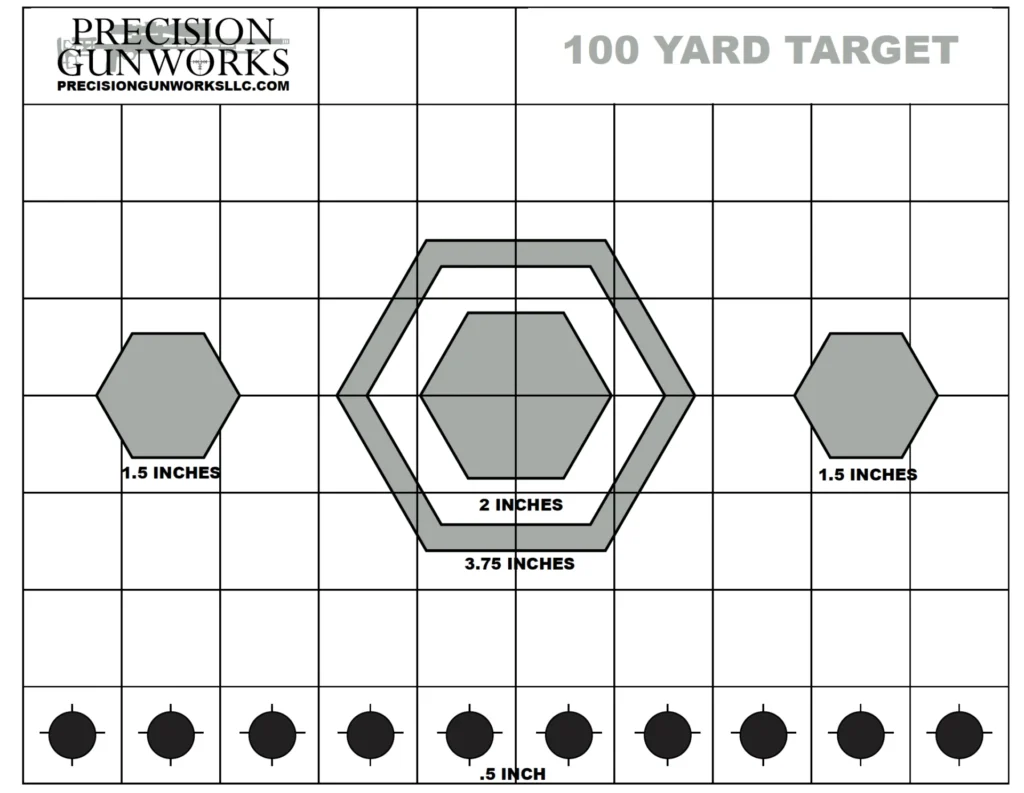
- Trigger control: When you aim at a tiny dot, like the 1/2 inch dot that we use in our classes, you are more likely to press the trigger straight to the rear instead of jerking, because jerks are obvious against a small point. Pressing cleanly keeps the muzzle from moving at the instant of firing.
- Natural point of aim and body position: Small aiming points punish inconsistent body position. You learn to settle into the same natural position so that the firearm points where your eyes expect it to.
- Eye focus: For iron sights and many reticles, focusing on a small front sight or precise reticle hold reduces parallax errors and keeps the sighting system aligned with the barrel.
- Follow-through and recovery: A reduced aiming area forces you to maintain your sight picture after the shot, which improves tracking and helps identify and correct errors.
All of these mechanics compound. Better sight picture improves trigger control, which improves follow-through, which reduces movement during the shot, and the group tightens.
Practical drills to shrink your aiming area
Here are progressive, practical drills designed to reduce your aiming area and make smaller groups the norm. Start slow, focus on consistency, and only speed up when you can do the slow work correctly.
- Dry fire: Practice getting the front sight or dot exactly centered on that small object, then press the trigger smoothly. Do 5 to 10 repetitions per session. This trains your ability to center on a small point without recoil interference. Track your consistency and add a small penalty for any sideways movement.
- Paired shots on a reduced target: Start at 50 yards, put a 1/2-inch dot on the target. Take two slow, deliberate shots on the dot, focusing on an identical sight picture and follow-through for each. If your paired shots are not touching, increase your focus on trigger smoothness and breathing control. Repeat until your pairs are consistently within the size you want.
- One-inch incremental challenge: Use a target with concentric squares or dots of decreasing size (Pictured above). Start with a larger dot at your chosen distance, then move to a smaller dot, then an even smaller dot. Spend a session at each size until you can string five rounds inside that circle at slow, controlled cadence.
- Trigger-only drills: Isolate trigger control by using a rest. Put the rifle or pistol on a stable rest and practice squeezing the trigger while maintaining sight alignment. If your group tightens dramatically on the rest, the issue is shooter-induced movement. That tells you where to focus during live fire.
- Live fire transition to speed. Once you can land five rounds in your small aiming area at slow cadence, gradually shorten the split times while maintaining accuracy. This builds the ability to be both precise and efficient.
Gear and setup tips that support aiming small
Your fundamentals come first, but gear can help you practice and see results faster. Use optics or sights that allow a clear, crisp sight picture. Choose reticles or front sights that make it easy to place the aiming point precisely. Good eye relief and a repeatable cheek weld matter, especially with rifles. A simple sandbag, monopod, or steady rest during practice sessions accelerates learning by letting you focus on trigger and sight picture without compensating for balance.
Don’t blame the equipment for flinches or bad groups. Test on a stable rest to separate shooter error from hardware limitations. If the rest groups are tight but your off-hand groups are not, the problem is shooter consistency, not the rifle.
Common mistakes and how to fix them
Aiming smaller exposes weaknesses. Expect to see problems at first. Here are common issues and fixes:
- Anticipation or flinch: If your shots climb or you see movement just before the break, add more dry fire practice and focus on smooth trigger press while training your brain to expect the recoil. And working on your breathing. Make sure you shoot at the natural pause of your breathing cycle, when all of the air has left your lungs.
- Variable cheek weld: If your POA wanders vertically, mark a consistent cheek placement on your stock with a removable tape or use a cheek pad to replicate placement.
- Looking through the front sight instead of at it: Fix your focus. For iron sights, the front sight should be the sharpest element in your vision. For optics, focus on the aiming reticle or small dot.
- Rushing: Aiming small takes time. Slow down until it becomes automatic, then gradually work speed back in.
Putting it all together
Shrinking the target and aiming area is less about magical technique and more about disciplined repetition. It forces the kind of consistency that separates good shooters from great shooters. Tiny aiming points make flaws visible, which is exactly what you want when you are trying to improve. Use dry fire, progressive live-fire drills, and honest diagnostics to identify whether the rifle or the shooter needs work. Keep a training log, measure your group sizes, and celebrate the steady improvement.
If you enjoy structured training and want a guided roadmap for these drills, check out our Intro to Long Range or Reloading classes at Precision Gunworks. We focus on fundamentals and repeatable skills so that small aiming points become second nature and tight groups follow.
Aim small, train smart, and send it with precision.
Mark D.